
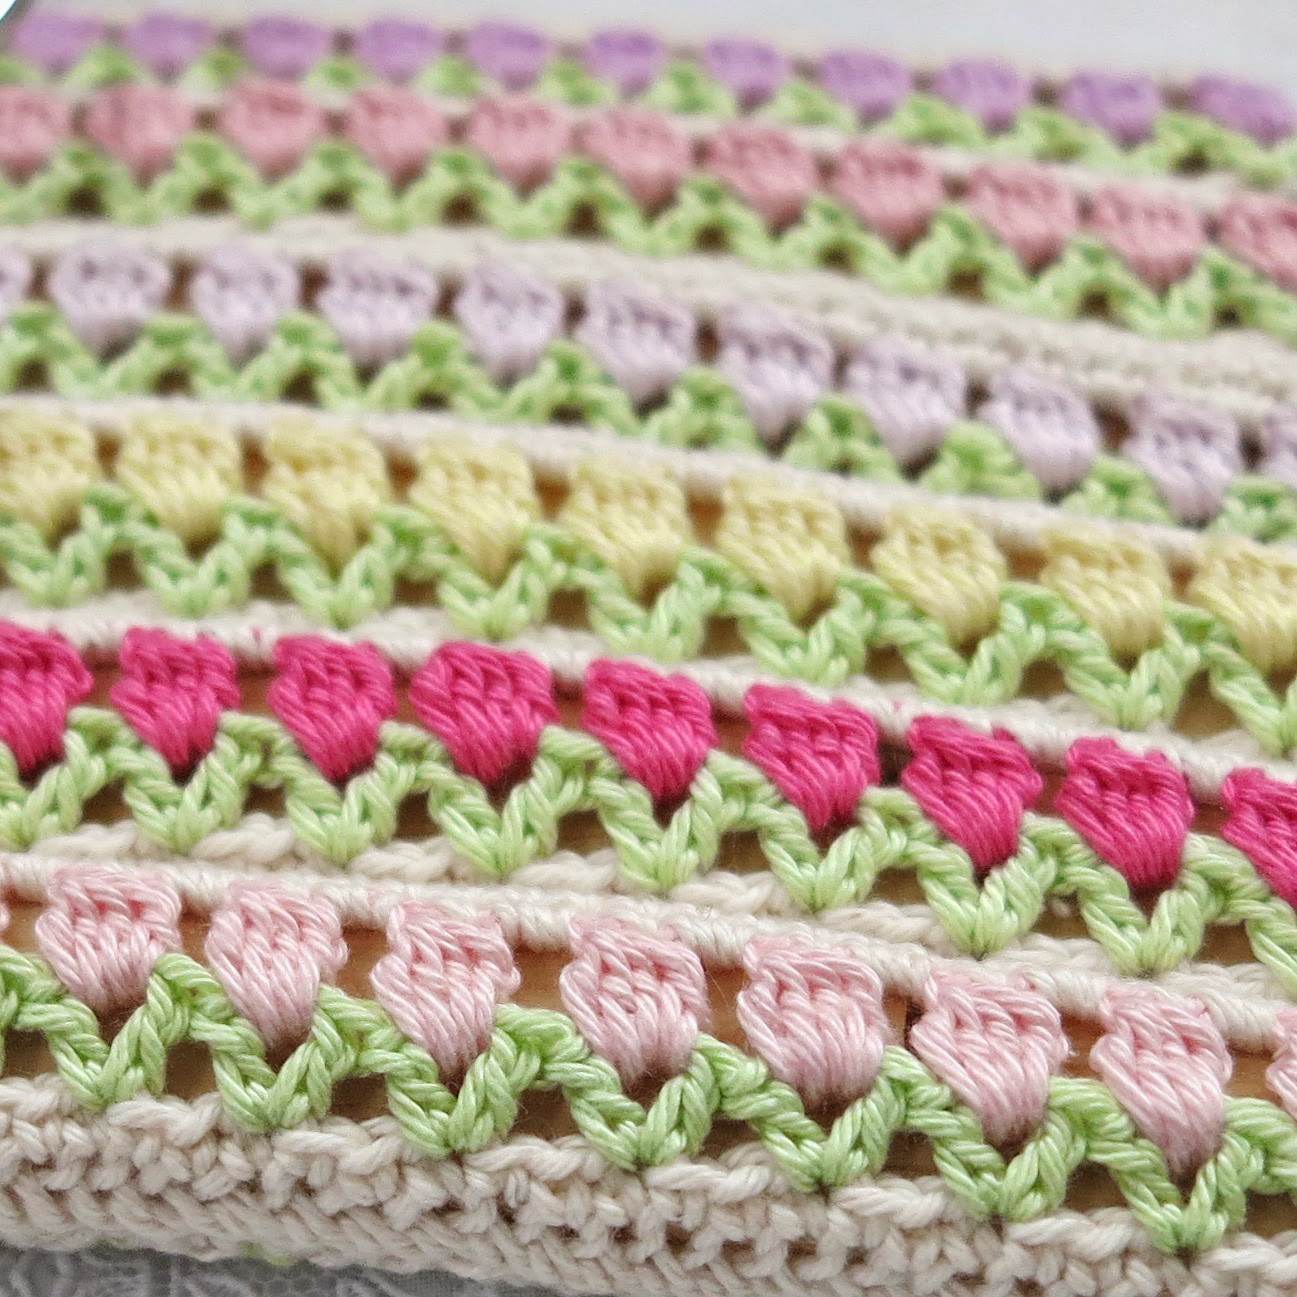
You'll need
♦ Cotton yarn suitable for a 3 mm hook (I used Rio Cotton from Lammy Yarns, except for the white, there I used something else from my stash, but Rio would do nicely there. And having seen the lovely colours from the brand new byClaire range, I think they would be perfect for these hangers too!)
♦ Crochet hook 3 mm
♦ Hanger with a minimum width of 2 cm (0.8 inches). The length doesn't matter, you can easily adapt the pattern accordingly.
♦ Blunt needle.
Remarks beforehand
♦ American crochet terminology – sorry UK-friends!
♦This pattern calls for a v-stitch: 1 dc, ch1, 1 dc in same stitch
♦ And for a 4dc-cluster:
Yarn over (yo) and insert your hook into the ch1-space.
Yo and draw up a loop – 3 loops on hook. Yo and pull through 2 loops – 2 loops on hook
Yo and insert your hook into the same space, yo over and draw up a loop – 4 loops on hook.
Yo over and pull through 2 loops – 3 loops on hook.
yo and insert your hook into the same space. Yo and draw up a loop – 5 loops on hook.
Yo and pull through 2 loops – 4 loops on hook.
Yo and pull through all 4 loops on your hook.
♦ You'll be making an identical front and back which are sewed together.
♦ For a 3d effect you could substitute the 4dc-cluster with a popcorn stitch.
 |
| Mmm, I realise that my symbol for a 4dc-cluster resembles that of a popcorn. Meant here is cluster stitch, although a popcorn would be a nice alternative. See above under Remarks beforehand... |
Step 1, in white
♦ When making a slip stitch to start your work, leave an extra long tail. (This ensures that you are flexible in adjusting the length of your work if it turns out too short later on. More about this under Step 2.)
♦ Crochet a chain that's at least 5 cm (1.5 inches) longer than your hanger.
♦ Sc in 2nd sc from your hook, single across the chain. Measure every now and then against the lenght of your hanger. If you think it's long enough, do not cut yarn yet.
Step 2, in green
Step 2, in green
♦ Do not turn your work.
♦ Attach green yarn in the first sc.
♦ Chain 2, skip 1 sc
♦ * v-stitch, skip 2 sc* repeat until you nearly reach the end of the row.
♦ Measure if your work is long enough to cover the length of the hanger. If necessary you can pick up the white yarn again and make a few extra single crochets in your begin chain. You could even add a few chains to your begin chain (if necessary) because you left an extra long tail right in the beginning. How nifty. ;-)
♦ If your begin chain and/or your round 1 (the single crochets) are too long, you can easily unravel the redundant stitches from both. This is the reason you did not turn your work at the beginning of step 2.
♦ Okay, is your work the right length? Then, after the last v-stitch: skip 1 st, 1 dc, cut green and white yarn.
♦ Measure if your work is long enough to cover the length of the hanger. If necessary you can pick up the white yarn again and make a few extra single crochets in your begin chain. You could even add a few chains to your begin chain (if necessary) because you left an extra long tail right in the beginning. How nifty. ;-)
♦ If your begin chain and/or your round 1 (the single crochets) are too long, you can easily unravel the redundant stitches from both. This is the reason you did not turn your work at the beginning of step 2.
♦ Okay, is your work the right length? Then, after the last v-stitch: skip 1 st, 1 dc, cut green and white yarn.

Step 3, in colour of your choice
♦ Don't turn work
♦ Chain 3 in first dc of previous round
♦ *4dc-cluster in the ch1-sp of previous round, chain 2*
♦ repeat across this round
♦ Than ch1, 1 dc in last dc of previous round
♦ Cut yarn.
Step 4, in white
♦ Don't turn work
♦ 1sc in 2ch of 3chains of previous round, 1 sc in ch1-space
♦ * 1sc in top of cluster, 2 sc in ch2-space*
♦ Cut yarn.
Step 4, in white
♦ Don't turn work
♦ 1sc in 2ch of 3chains of previous round, 1 sc in ch1-space
♦ * 1sc in top of cluster, 2 sc in ch2-space*
♦ repeat
♦ 1 sc in the last ch1-space, 1 sc in dc
Step 5 (in white)
♦ 1 turning chain
♦ Turn your work.
♦ Sc in every st, till end of round
♦ Now measure if your work is wide enough. If not, add an extra round of single crochet. You can decide whether you'd like this extra row here, or at the bottom of your work. (My hangers are 2 cm (about 0.8 inches) wide, and I didn't need an extra row of sc.)
♦ Weave in ends.
Step 6
Make an identical back side, repeating step 1 to 5.
♦ Sc in every st, till end of round
♦ Now measure if your work is wide enough. If not, add an extra round of single crochet. You can decide whether you'd like this extra row here, or at the bottom of your work. (My hangers are 2 cm (about 0.8 inches) wide, and I didn't need an extra row of sc.)
♦ Weave in ends.
Step 6
Make an identical back side, repeating step 1 to 5.

Step 7
Hold the two pieces together, wrong sides facing eachother. Use your blunt needle and the white yarn to whipstitch front and back together (only stitching though the outer loops). Start on the side, then whipstitch about half of the lenght, slip the hanger in, stitch past the hook of the hanger, continue until done! Weave in the very last ends and let your Tulips Fields hanger invite spring in!
One more thing...
All this information might make this seem like a really complicated pattern – which of course it is not. I just wanted to give some tips on how to easily adjust the pattern to any lenght hanger. Of course, if you're making more hangers you can just count the stitches of your first hanger and duplicate that number for your other hangers – assuming they have the same size. ;-)

I hope you will enjoy this little project.
As always I'm delighted with your visit. Thanks!
♦♦♦
As always I'm delighted with your visit. Thanks!
♦♦♦


