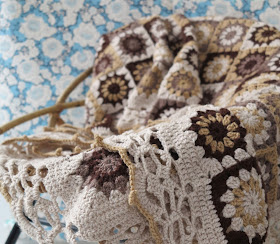
The Dainty Dots Blanket!

Did you know…
- It took me one and a half year to complete? (Although to be fair I didn’t touch it for most part of last year.)- It weighs almost four kilograms/8.8 lbs?
- Its measurements are appr. 2 x 2.1 m (appr. 6.6 x 6.9 feet)
- I’m really happy with my trick for turning a circle into a solid square?
- That I’m going to share this trick with you in my next post?
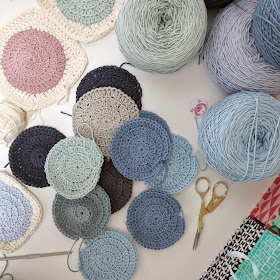
- The blues and greys are from a brandless cotton I bought at a Thai market?
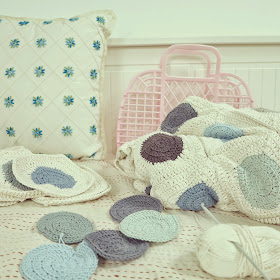
- I sticked to only two rules while arranging the colours? (Namely: don’t join two squares which have the same colour and don’t join two dark colours.)
- I love big borders?

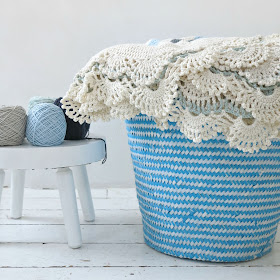
Regarding the latter: As you can see I decided on a big border for this blanket. It consist of three parts: the solid one and then two parts lacy fans. It was a last minute choice, but I couldn't be happier with it. Though the border does somewhat outshine the rest of the blanket. ;-) I based the lacy part loosely on a pattern from a Japanese crochet book. Sorry I do not have more information about it. But basically you could adapt any pattern for a multiple row of fans, and use it as a border.
The basis for this blanket were the big blue and grey cotton yarn cakes. This yarn wasn't available in white at the time, so for that I used Rico Creative Cotton. Which is quite a bit heavier than the Thai cotton, but it worked.

At the start I took a fair amount of time to work out a pattern for circle-turned-into-a-solid-square. I wanted the circle stay round, but in most patterns the circle becomes fairly square-ish when turned into a solid square. I'm quite pleased with my solution. Although the effect is a bit lessened here because the white is heavier than the coloured yarn. Ah well, can't have it all.
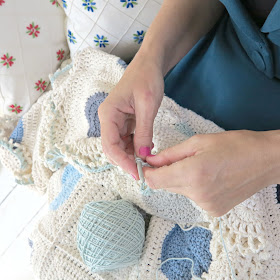
The funny (or stupid) thing is, when I unearthed it from its huge basket I was surpised how near-to-finishing it was. I was already halfway joining the motifs. With a big project like this I like to work for some hours in a row. I can't just steal thirty minutes here or there, like with a less substantial project. So, in the end it did all boil down to lack of time. But I enjoyed the finishing process thoroughly.

Anyway, I hope you like it! Don't forget, next up on this blog is the pattern for the Dainty Dots Squares. (The squares, not the border, sorry!)
Thank you so much for visiting & have a lovely day.

At the start I took a fair amount of time to work out a pattern for circle-turned-into-a-solid-square. I wanted the circle stay round, but in most patterns the circle becomes fairly square-ish when turned into a solid square. I'm quite pleased with my solution. Although the effect is a bit lessened here because the white is heavier than the coloured yarn. Ah well, can't have it all.
The funny (or stupid) thing is, when I unearthed it from its huge basket I was surpised how near-to-finishing it was. I was already halfway joining the motifs. With a big project like this I like to work for some hours in a row. I can't just steal thirty minutes here or there, like with a less substantial project. So, in the end it did all boil down to lack of time. But I enjoyed the finishing process thoroughly.

Anyway, I hope you like it! Don't forget, next up on this blog is the pattern for the Dainty Dots Squares. (The squares, not the border, sorry!)
Thank you so much for visiting & have a lovely day.
